Joomla 3.1 – Publishing Articles
STEPS
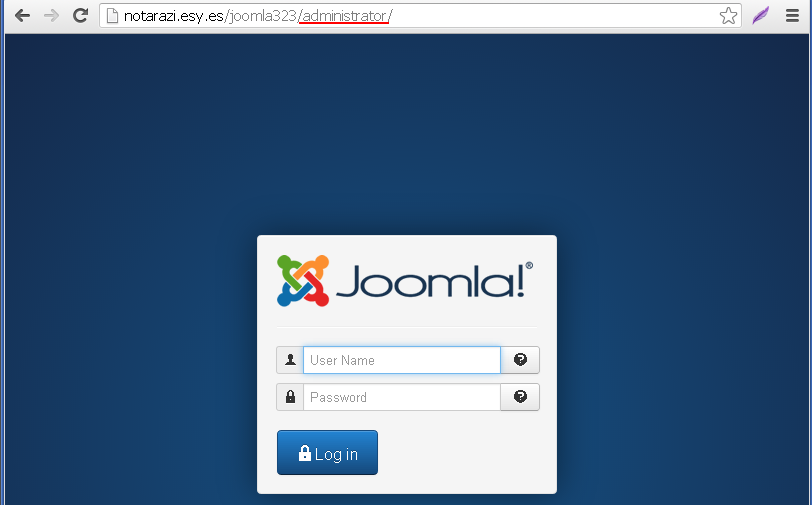
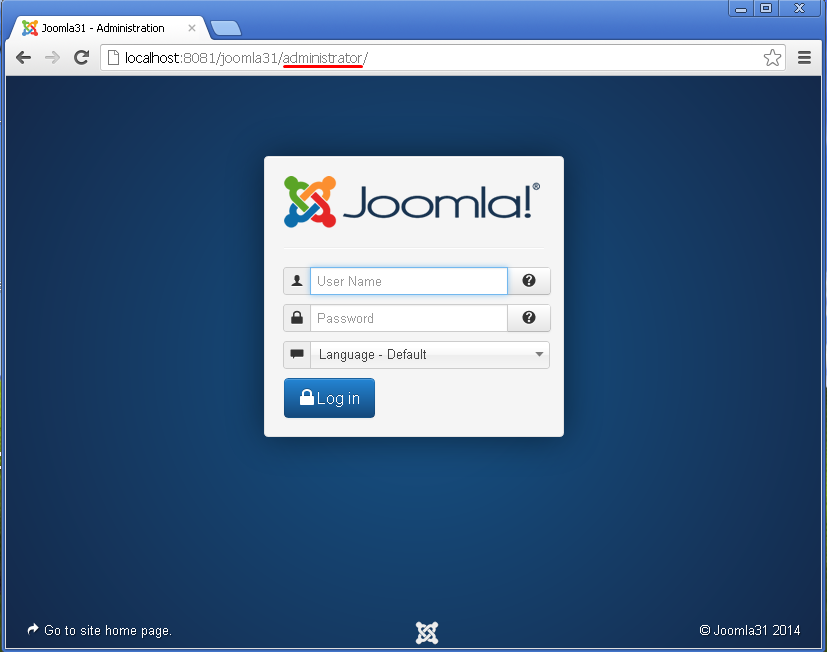
1) Log into Administrator Page.
1.1) Add the word “administrator” to your Joomla URL address.
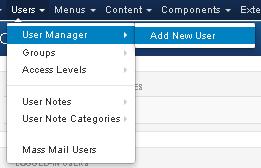
2) Add New Users.
2.1) In the Top Menu, select User Manager/Add New User.
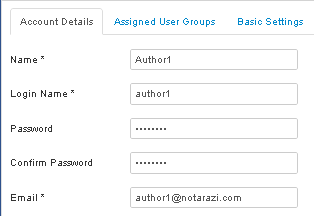
2.2) In the Account Details tab, enter the following details:
Name: Author1
Login Name: author1
Password: password
Confirm Password: password
Email: author1@yourdomain.com
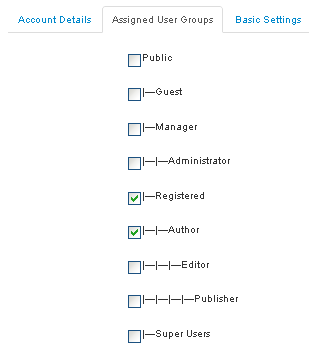
2.3) In the Assigned User Groups, select the followings:
- Registered
- Author
2.4) Click Save button.
2.5) Repeat the steps 2.1 – 2.4 to create the following users:
Name
|
Login Name
|
Password
|
Confirm Password
|
Email
|
Registered
|
Editor
|
Publisher
|
Editor1
|
editor1
|
password
|
password
|
editor1@yourdomain.com
|
select
|
Select
|
|
Publisher1
|
publisher1
|
password
|
password
|
publisher1@yourdomain.com
|
select
|
|
select
|
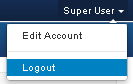
2.6) Logout from Administrator Page.
3) User Roles and Permissions.
3.1) We have defined three users based on different user roles which subsequently affects their access to Joomla contents.
4) Submit an Article.
4.1) Login as Author1.
4.2) Click the link Submit an Article.
4.3) Type the following texts:
Title: I am the author
Alias: i-am-author
Content: An author is broadly defined as "the person who originated or gave existence to anything" and whose authorship determines responsibility for what was created. Narrowly defined, an author is the originator of any written work and can also be described as a writer.
4.4) Hover your mouse over the label “Alias”.
Joomla provides a contextual help text to help you understand more about the data fields.
4.5) Click Save button.
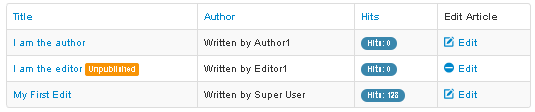
4.6) Outcome.
4.7) Logout from Joomla.
5) Submit an article as the Editor.
5.1) Login as Editor1.
5.2) Click the link Submit An Article.
5.3) Type the following texts:
Title: I am the editor
Alias: (don’t type anything here)
Content:
Editing is the process of selecting and preparing written, visual, audible and film media used to convey information. The editing process can involve correction, condensation, organization, and other modifications performed with an intention of producing a correct, consistent, accurate and complete work.
The editing process often begins with the author's idea for the work itself, continuing as a collaboration between the author and the editor as the work is created. As such, editing can involve creative skills, human relations and a precise set of methods.
5.4) Save.
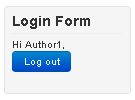
5.5) Logout.
6) (Administrator) Edit the Home Menu to display list of articles.
6.1) Log into Administrator page.
6.2) In the Top Menu, select Menus/Main Menu.
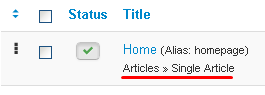
6.3) At the moment the Home page is set to display the Articles Module based on Single Article format.
6.4) Click the word Home.
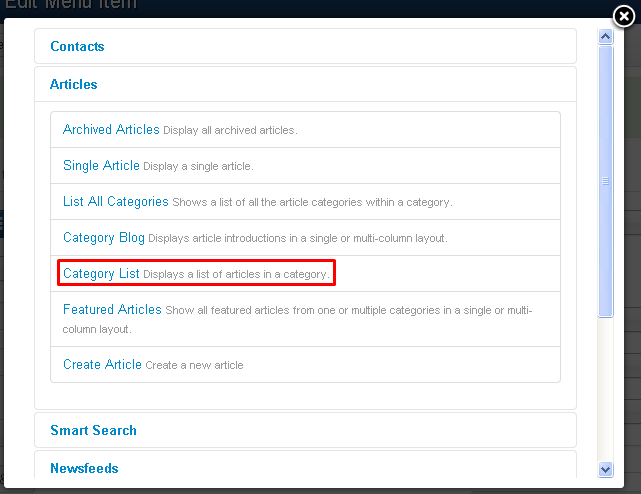
6.5) In the Menu Manager/Edit Menu Item Page, Click Select button for the field Menu Item Type.
6.6) In the popup window, select Category List.
6.7) Click Save button.
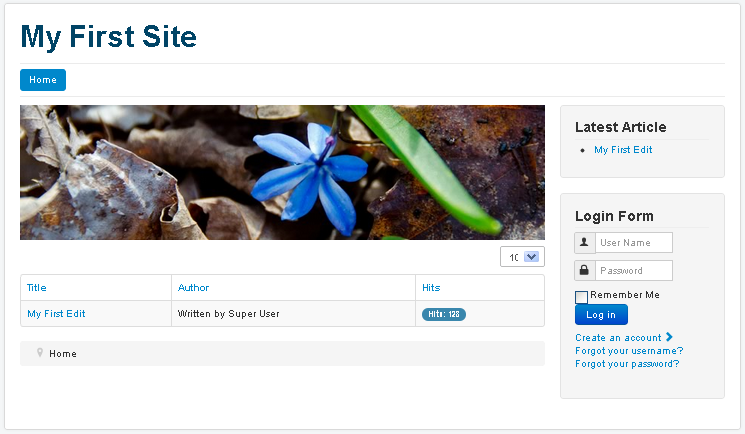
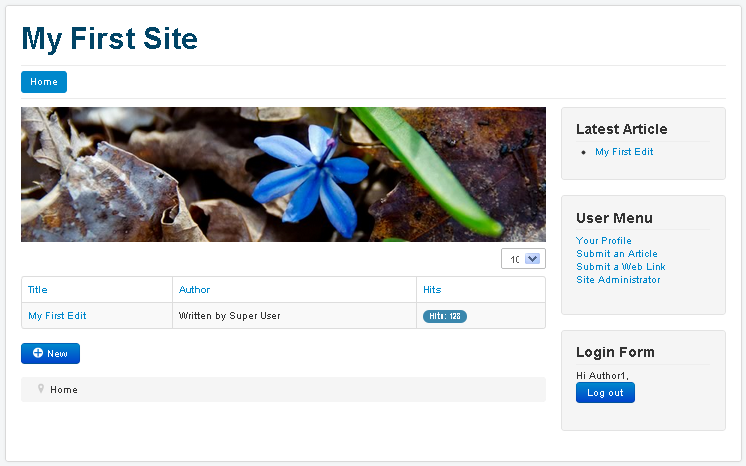
7) View the articles on the Front Page using different user types.
7.1) View as guest.
7.2) View as Author1.
7.3) View as Editor1.
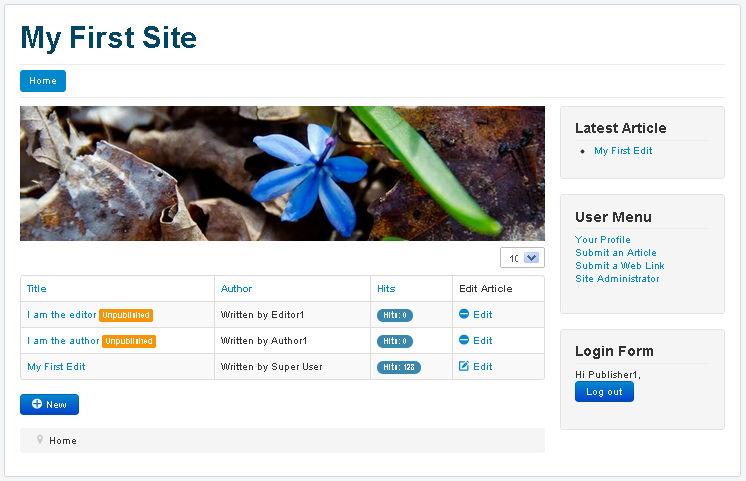
7.4) View as Publisher1.
8) Edit.
8.1) Both Editor and Publisher are allowed to view and edit unpublished articles.
8.2) Both Guest and Author are not allowed to view and edit unpublished articles.
9) Published.
9.1) Only Publisher is allowed to publish articles.
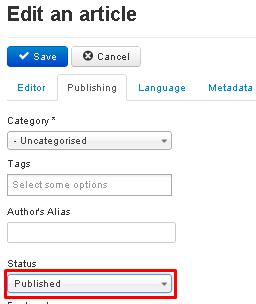
9.2) Log in as publisher and click edit for the article title “I am the author”
9.3) In the Edit Page, click the Publishing tab and change the status to Published. Click Save.
9.4) Outcome.
The unpublished label for the article “I am the author” has disappeared.
9.4) Logout.
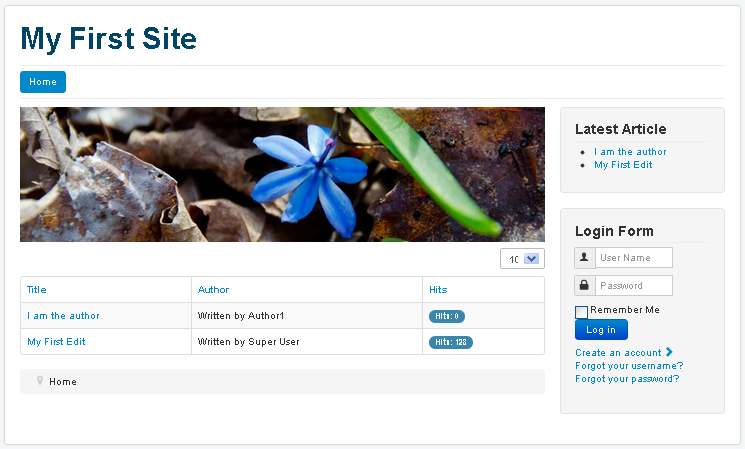
10) View published articles.
10.1) View the page as guest. Notice that there are now two articles.